Elektrik sayğacları bir şeyə çevrilməzdən əvvəl, ürək döyüntüsünün məşqi möhkəm bir quruluş yaratmaq üçün əsas vasitədir, güclü təməl və velosipedçinin performansını yaxşılaşdırmaq. Və güc sayğacları getdikcə daha populyar və əlçatan olur, ürək dərəcəsi monitorları onlara yaxınlaşır. Budur əsas, performansınızı ölçməyin bu alternativ üsuluna başlamaq üçün asan bələdçi:
ADDIM 1: ƏSAS Avadanlıq

Bu sizə lazım olan şeydir:
- Velosiped. Velosipediniz yaxşı vəziyyətdədirsə və ölçülərinizə yaxşı uyğunlaşdırılıbsa, daha çox fayda əldə edəcəksiniz. Bu cür, daha rahat hiss edərək və xəsarətlərin qarşısını alaraq ondan ən yaxşısını əldə edəcəksiniz.
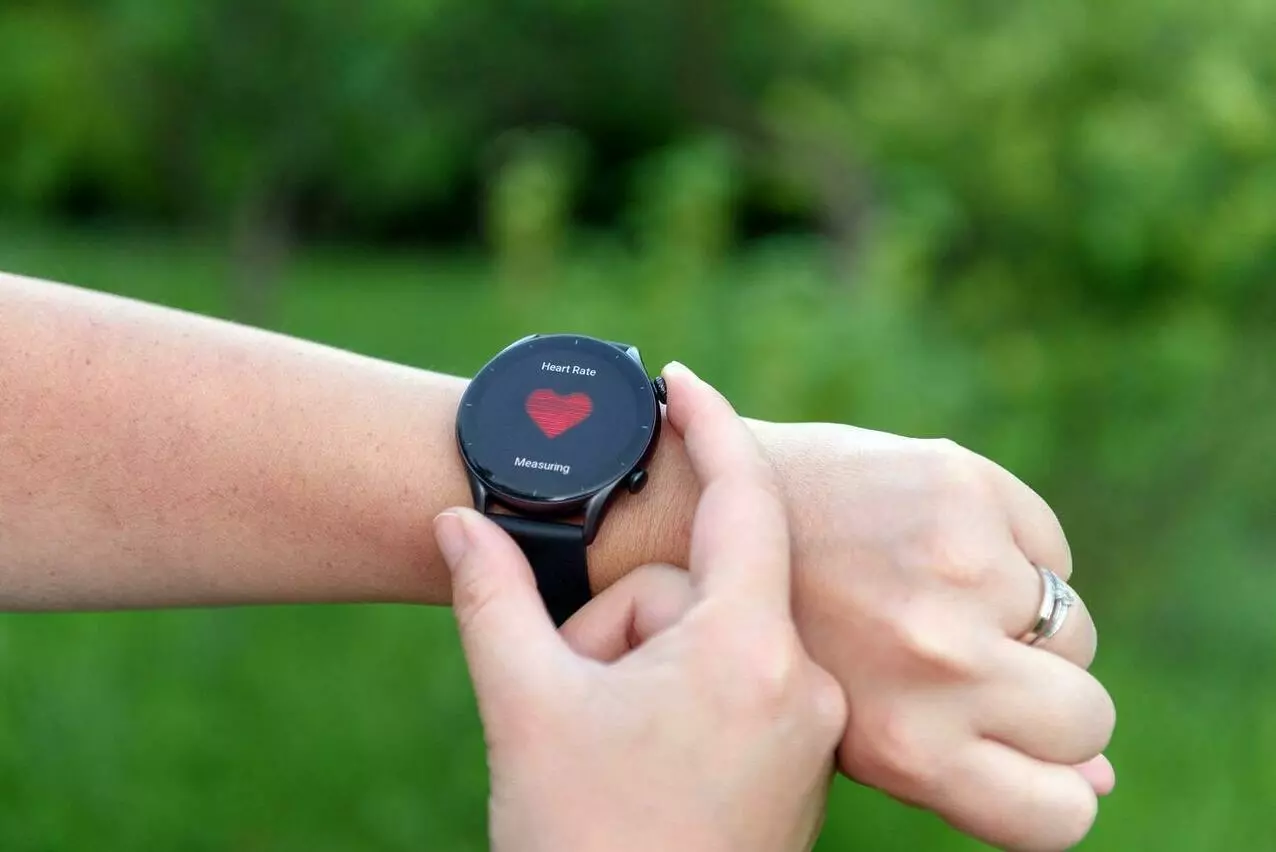
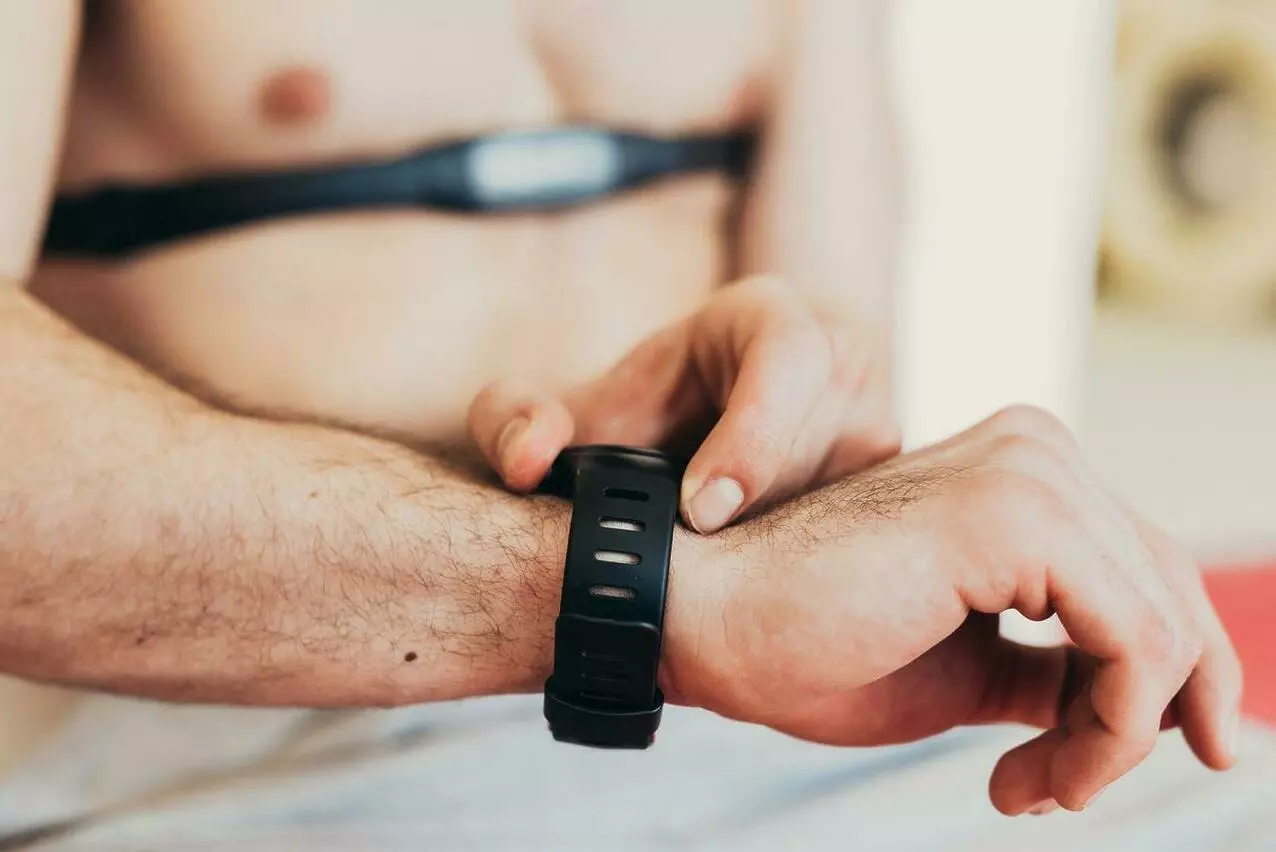
- Ürək dərəcəsi monitoru kəməri/sensoru velosiped kompüteri ilə birləşdirilir, ağıllı saat və ya smartfon. Siz də istifadə edə bilərsiniz daxili ürək dərəcəsi monitoru ilə smart saat.
Velosiped kompüteri ilə birlikdə ürək dərəcəsi monitoru kəməri velosipedçilər arasında ən çox yayılmış seçimdir. Siz ürək dərəcəsi monitorunu cihazınızla sinxronlaşdırmalısınız və sizə lazım olan məlumatı göstərmək üçün ekran görüntüsünü tənzimləməlisiniz, cari nəbziniz kimi, interval/lap nəbzi və orta nəbz, sonra məlumatları təhlil etmək.
Ürək dərəcəsi monitorlarının bir çox növləri var, və hər ikisi bir-birinə və dəstəklədikləri əlaqə sistemi ilə uyğun olduğu müddətcə onları istənilən cihazla sinxronlaşdıra bilərsiniz (Bluetooth və/və ya Ant+).
ADDIM 2: İSTİRATLƏNDİĞİNİZ ÜRƏK HATINIZI BİLİN (RHR)
İstirahət halında ürək döyüntüsünüz fitness səviyyənizi qiymətləndirməyə imkan verən faydalı məlumatdır, və ürək-damar sağlamlığınız. Əgər müntəzəm olaraq ölçsəniz, məşq seanslarınızı necə optimallaşdıracağınızı və ümumi rifahınızı necə yaxşılaşdıracağınızı görə bilərsiniz.
İstirahət zamanı ürək dərəcəsini necə ölçmək olar

İstirahət halında nəbzinizi ölçməyin ən yaxşı yolu səhər oyandıqdan dərhal sonradır, yataqdan qalxmazdan qabaq. Ürək dərəcəsi monitorundan istifadə edin və ya nəbzinizi əl ilə biləyinizdən və ya boynunuzdan götürün 30 saniyə. Sonra, nəticəni çarpın 2.
Daha dəqiq və müqayisə edilə bilən nəticələr əldə etmək üçün hər səhər eyni vaxtda istirahət zamanı ürək döyüntünüzü ölçmək vacibdir..
Müntəzəm olaraq çox narahat olmayın, gündəlik dalğalanmalar, ancaq həftələr və hətta aylarla necə təlim keçdiyini izlədiyinizə əmin olun + istirahət fitness səviyyənizə təsir edir.
İstirahət zamanı ürək dərəcəsinin aşağı olması sizin ürək-damar sisteminin yaxşı vəziyyətdə olduğunu göstərə bilər. Ürəyiniz qanı vurmaqda daha effektivdir, istirahət zamanı ürək dərəcəsi daha aşağı olacaq. İstirahət zamanı ürək dərəcəsinin tədricən azalması ürək-damar sağlamlığınızın və fiziki vəziyyətinizin yaxşılaşdığını göstərə bilər.
Stress və yorğunluq istirahət zamanı ürək döyüntüsünüzü dəyişə bilər. Qeyri-adi artım, vücudunuzun daha çox bərpa vaxtına ehtiyacı olduğunu göstərə bilər, beləliklə, düzgün bərpa üçün daha yüngül məşq seanslarına üstünlük verə bilərsiniz.
İstirahət zamanı ürək döyüntüsünün əhəmiyyətli dalğalanmaları mümkün sağlamlıq problemlərini və ya fiziki vəziyyətinizdə dəyişiklikləri göstərə bilər. Ani artım stress əlaməti ola bilər, xəstəlik və ya həddindən artıq məşq, bu da yaralanma riskini artırır. Bu dalğalanmaları izləmək uzunmüddətli sağlamlıq problemlərinin qarşısını almağa kömək edir.
ADDIM 3: MAKSİMUM ÜRƏK HATINIZI BİLİN (HR MAX)
Maksimum ürək dərəcəsini hesablamaq məşq zonalarınızı yaratmaq və seanslarınızı fiziki vəziyyətinizə uyğunlaşdırmaq üçün vacibdir. Yalnız yaşınızı çıxarmaq tövsiyə edilmir 225 (qadınlar üçün) və ya 220 (kişilər üçün), çünki bu üsul çox ümumidir və hər bir insanın fərqli limiti var. Məşqinizin intensivliyinin hədəflərinizə və fiziki vəziyyətinizə uyğun olmasına zəmanət vermək üçün məşq zonalarınızı maksimum ürək dərəcəsinə uyğun olaraq tənzimləyə bilərsiniz..

İdeal, ürək stress testi etməlisiniz, xüsusilə idmana yeni başlasanız və ya hər hansı bir tibbi vəziyyətiniz varsa. Müasir velosiped kompüterlərinin böyük əksəriyyəti bu testi açıq havada və ya qapalı məkanda etməyə kömək edən proqramlar təqdim edir.. Əks halda, bu üsulu sınaya bilərsiniz:
- Uzun tap, az və ya çox sabit dırmaşmaq, orta gradient ilə (5-6%).
- üçün isinmək 30 dəqiqə nəfəs darlığı hiss etmədən danışmağa imkan verən ritmdə.
- Üçün orta templi bir ritmə artırın 15 dəqiqə (bu halda danışmaq daha çətin olacaq), və bu hissənin sonunu qalxmanın başlanğıcı ilə uyğunlaşdırmağa çalışın.
- Üçün ritmi tədricən artırın 5 dəqiqə. Ən son dəqiqədə, maksimum ürək dərəcəsinə çatmaq üçün hər şeyi edin.
- Əgər bunu ilk dəfə edirsənsə, ayaqlarınız çox güman ki, ürəyinizdən əvvəl sizə uğursuz olacaq, amma bu normaldır.
- Maksimum ürək dərəcəsiniz üçün iki fərqli nəticəni müqayisə etmək və orta sürəti hesablamaq üçün bütün bu prosesi təkrarlaya bilərsiniz, lakin yəqin ki, ikinci cəhdinizdə birinci cəhdinizdə olduğu qədər səmərəli olmayacaqsınız.
ADDIM 4: TƏLİM ZONLARINI MÜƏYYƏN EDİN
İndi maksimum ürək dərəcəsini əldə etdiyinizə görə, faiz əsasında xüsusi təlim zonalarınızı hesablaya bilərsiniz. Bu zonalar məşqinizin intensivliyini müəyyənləşdirir və dözümlülüyünüzdə təkmilləşdirmələrə nail olmaq üçün seanslarınızı effektiv şəkildə qurmağa kömək edir., sürət və ya güc.

Ürək dərəcəsinə əsaslanan məşq zonalarının sayı onları hesablamaq üçün istifadə etdiyiniz sistemdən asılı olaraq dəyişə bilər, lakin adətən beşə bölünürlər:
Zona 1 - Bərpa (50-59% HR maks): Bu zona istiləşmə və aktiv bərpaya nail olmaq üçün idealdır. Ürək dərəcəsi ən aşağı səviyyədədir, bərpasını təşviq edən və aerobik baza təliminə kömək edir. Bu zona daxilində, nəfəs darlığı hiss etmədən söhbətinizi davam etdirə bilərsiniz.
Zona 2 - Dözümlülük (60-69% HR maks): Asan bir ritm, yuxarıda qeyd etdiyimiz aerobik baza yaratmaq üçün mükəmməldir, və uzun məşq seansları üçün rahat səviyyə. Siz hələ də söhbəti davam etdirə bilərsiniz, ancaq nəfəsiniz daha dərin olacaq.
Zona 3 - Temp (70-79% HR maks): Bu zona orta və yüksək səy səviyyəsini nəzərdə tutur, və ürək-damar dayanıqlığını artırır (başqa sözlə, aerob fitness). Bu zona daxilində məşq seansları ağciyər tutumunuzu artırır və qan dövranınızı yaxşılaşdırır. Danışmağa davam etmək olar, lakin əvvəlki zonalardan daha çətindir.
Zona 4 - Laktat həddi (80-89% HR maks): Bu zonada, səy səviyyəsi yüksək və intensivdir, aerob qabiliyyətini və laktat tolerantlığını yaxşılaşdırmaq. Bu zonadakı fasilələr ürək dərəcəsinin və səmərəliliyin artmasına kömək edir. Bu zonada danışmaq olduqca çətinləşir.
Zona 5 – VO2 Maks (90-100% HR maks): Burada səy maksimum səviyyədədir, sürət və gücü artırmaq üçün idealdır. Qısa, bu zonada güclü intervallar anaerob qabiliyyəti yaxşılaşdırmaq üçün faydalıdır. Söhbət demək olar ki, mümkün deyil. Yalnız bu anda yorğunluq səsləri çıxara biləcəksiniz.
Bu siyahıya əlavə edə biləcəyimiz iki zona var, lakin sistem çox mürəkkəb olardı və, bu işdə yenisənsə, həqiqətən Zonadan kənarda nə olduğunu bilmək istəmirsiniz 5. Biz də bu sistemi bir az sadələşdirə və ilk üç zonanı bir zonada birləşdirə bilərik, yeni başlayanlar üçün ən çox velosiped gəzintiləri həmişə bu üç zona ətrafında hərəkət edəcəkdir. Pedal çevirmək və məşq etmək üçün kifayət qədər vaxt sərf etdikdən sonra, limitlərinizə daha çox diqqət yetirməyə və onları itələməyə başlayın.
 shuangye açıq məhsulları
